"LIFE ITSELF IS THE PROPER BINGE" - JULIA CHILD

Friday, April 29, 2011

Coconut Curry Lentil Soup

VA VA VOOM! Well, here you go foodie folks! One of the most delicious soups I have ever made. Okay I'll be honest. I don't have much experience making soups but now I am officially hooked.

First and foremost, I apologize for slacking off and leaving my food blog on the back burner to the many assignments I have been recently given before summer starts. Yes, I am in the thick of finals and it sucks. All these papers and exams are absorbing my extra time and I find myself struggling to even make the simplest dishes!


That being said, summer is just around the corner and I intend to test many recipes that I can share with you all. Last weekend though, I did manage to shove my textbooks aside and make a wonderful soup that I hope you all will try.

Living on my own, I am beginning to realize how difficult it is to actually use the numerous ingredients I waste my money on. What does one do when their friends are vegetarians? I guess that's just part of going to school in Oregon. Well, what I have found is always resort to lentil soup! Yes lentils can be bland, but this recipe is far from it! Last week, I was constantly wishing for some Indian food to fall in my lap or anything with flavor for that matter. And then, I was reading one of my favorite food blogs, 101 Cookbooks, and stumbled upon this fabulous dish. Perfect for a dinner party because I could make plenty of it, send everyone off with a package to freeze at home and it was a complete vegetarian dish that was tastyyyyy! Everyone would be wonderfully satisfied!


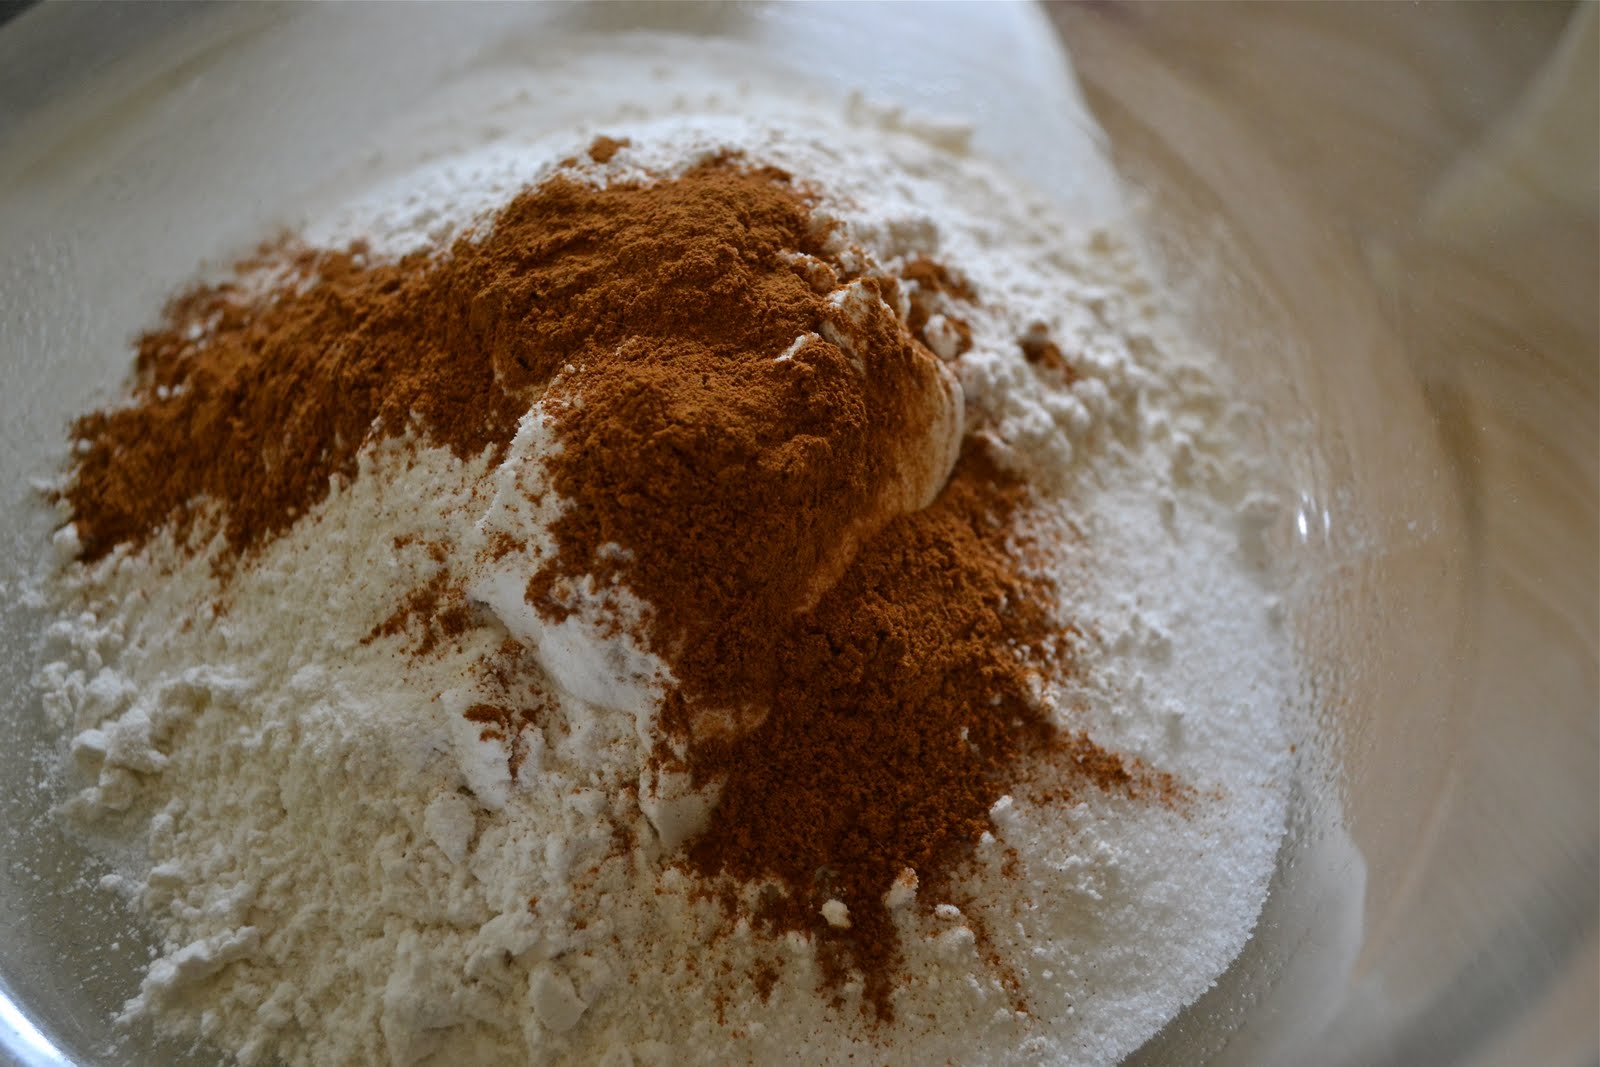
Above, the raisins cook down with butter, freshly chopped ginger, green onions, and finally my all time favorite ingredient...CURRY! I could eat this stuff plain...and I totally did. Will you please just appreciate the glorious colors this dish produces? Yellow, green, brown, orange. Maybe I should have made this in the fall. Nahhh, it's too damn good. Have I mentioned yet that you serve it over brown or white rice? I know, so deadly.

Vegans, if you are at all interested in recreating this recipe, substitute the butter for olive oil and you are set! Like I mentioned before, I doubled the ingredients because I knew I would want some leftovers. Also, don't be shy to add more of an ingredient if you absolutely love it. In the end, I used more curry than the recipe called for and added more raisins.


Coconut Lentil Curry Soup:
adapted from 101 Cookbooks

Ingredients:
1 cup of split peas
1 cup of red lentils
7 cups of water
1 medium sized carrot, cut into 1/2 inch dice
2 tablespoons of freshly peeled and minced ginger
2 tablespoons of curry powder
2 tablespoons of butter
8 green onions (scallions), thinly sliced
1/3 cup of raisins, or yellow raisins (I just used what was in the pantry)
1/3 cup of tomato paste
1 14-ounce can of coconut milk
2 teaspoons of sea salt
1 small handful of cilantro, chopped

Cooked brown rice or white rice

Directions:
Wash both the lentils and peas under water until all the murky water disappears. Place directly into a deep, soup pot on the stove and cover with water, bringing it to a boil. Immediately reduce to a simmer and follow by adding 1/4 of the ginger and the diced carrot. Cover completely for 30 minutes, or until the split peas and lentils are soft.

In the meantime, toast the curry powder in a small saucepan until very fragrant. Be cautious when doing so because you don't want it to burn. Set aside. Place the butter in a pan over medium heat, add the green onions, rest of the ginger, and raisins to saute. Stir for two minutes constantly, then add the tomato paste and continue for two minutes or longer.

Add the toasted curry powder to the tomato paste and raisin mixture. Mix thoroughly and then stir into the simmering soup. Once combined, add the coconut milk and salt. Uncovered, simmer this for around 20 minutes or until thickened. You can play with the consistency by adding more water if you'd like. The thicker the soup became, the more I liked it.

When finished, spoon into bowls. Don't forget about the brown rice!

Thursday, April 28, 2011

Lively Greens


Dice leeks and wash under water because it's very easy for dirt to crevice itself in between the layers. Saute in a hot pan alone for 5 minutes with olive oil to break down.


Even though this dish is intended as a side, it's very simple to transform it into a main dish by adding protein through ingredients such as tofu or crumbled feta.
Be wary of the green beans in your local market because lately they have been a disappointment to say the least. Choose a store that is known to have acceptable produce and purchase the green beans that easily snap in half. The strong texture stands up well in this recipe. I don't know about you, but I'm not a big fan of over cooked green beans.


Saute the 1 inch cut beans and dill with the already cooked leaks. I tested a few until I was satisfied with the crunchy bite of the bean with the soft leaks. Once done, take off the pan and crumble feta cheese. If you choose to add tofu, saute in the pan when adding the green beans and add a splash of soy sauce!

This recipe was inspired by:
101 Cookbooks


Sunday, April 17, 2011

Apple Streusel Bars

 Oooeey gooey apple bars on top of buttery, flaky crust. I don't know about you but when I was younger, I absolutely adored the apple pie desserts from McDonalds. Yep, I'm admitting it. I don't eat there at all anymore but those pastries were sooooooo delicious. There's something about the sugary, cinnamon juice that forms when you coat the apples and how it literally turns into a sweet syrup once baked in the oven. The great part about making this recipe is you can constantly snack. I don't think I really ate dinner that night because I was so full from eating everything from the skin shavings shown below, to the cold apple slices coated in granulated sugar and cinnamon.


 Here the apples are being peeled by hand. Don't ever throw out the skins because that's where so much of the nutrition is and they make for a great snack later on!

Beautiful, beautiful apples. How can you come out of the earths ground and taste like pure bliss?
I don't know why I decided to make this recipe (probably cause it looked INCREDIBLE) but maybe it was because my roommate Bethany was attending a picnic for a birthday party and what better dessert to bring than something with apples to a picnic? Pies get a little messy, but these are a brilliant way to give everyone their own personal treat!

Combine all the dry ingredients into one bowl in order to prepare that buttery/flaky crust I was talking about earlier.

Coat the apple slices with sugar, cinnamon and cornstarch. Let sit for about ten minutes so that the sugars caramelize into a syrup from all the water in the apples. This is where I ended up taking a tiny...okay maybe a really, really long break so that I could snack on these crisp, sweet treats before sending them into the oven. Once they enter the hot sauna, they will lose their texture and melt into the bar, becoming one, sticky, sweet dessert bar.

When working with the dough, cut with a knife or mix together with a hand-held mixer. Be careful of mixing too thoroughly though because you want to maintain a crumb-like texture. You do not want to mix the butter in completely or else the crust won't end up as flaky.

 Once this is done, place the crumb mixture into a well greased pan and then layer the apple slices on top. I decided to drizzle the remaining syrup left at the bottom of the bowl into the pan so that the flavors would all be able to combine.
 

Once this is done, crumble and distribute the last bit of the crust on top. This will help indicate when the apple streusel bars are done because it will eventually turn golden brown and form a crusty top.


While the bars are in the oven, combine the powdered sugar with whole milk by whisking with a fork. The two ingredients will begin to form into one similar to frosting and once this happens, add however much almond extract you like. The recipe that inspired me, calls for 1/2 teaspoon of almond extract, but I just love the flavor with the apples so I decided to double it.


Once the bars are finnnnito, I prefer to drizzle the glaze on top immediately so that the heat breaks it down and melts parts so that there isn't an abundance of the color white on top of the beautiful apples. I might just be overly obsessed with the presentation though and in that case, do whatever you'd like! I guess it all tastes the same in the end :)


If you're like me, you probably won't be able to refrain from eating them immediately but tryyyyyy. I was able to stuff my face with the first batch while they were still piping hot and the flavor truly does not compare to when you let them rest and cool. Don't forget to let the apple streusel bars set before cutting because if you try before hand, they will fall apart and become a huge sticky mess. 

Apple Streusel Bars
originally from Honey & Jam

Pastry:
2 c. of flour
1/2 c. of sugar
1/2 teaspoon of baking powder
1/2 teaspoon of salt
1 c. of real butter
1 egg, beaten

Apple Filling:
1/2 of white sugar
1/4 c. of flour
1 1/2 teaspoon of cinnamon
5 c. apples peeled (about 4 medium sized apples) , I used Gala because they hold up nicely

Glaze:
2 c. of powdered sugar
About 3 tablespoons of whole milk
1 teaspoon of almond extract (cut back to 1/2 teaspoon if you LOVE almond flavor)


Directions:

To prepare the crust, mix flour, sugar, baking powder and salt in a medium sized bowl. Then cut in the butter with two knives or a hand-held mixer. Do not mix too long because you want to leave some crumbles of butter, similar to that of a pea. Gently mix in the beaten egg.

Once the mixture is combined, grab a 9x13 baking dish and spray with non-stick cooking spray. Lightly pat 2/3 of the crust into the bottom of the pan (you will use the rest to sprinkle on top). Preheat the oven to 350 degrees and set aside while you create the apple filling.

Next step, grab a large bowl and mix the sugar, flour, cinnamon and apples together so that the dry ingredients cover every slice.

Spread the apples evenly over the crust and drizzle a little of the remaining sugar syrup on top. Then sprinkle the last 1/3 of the crumble crust on top (as shown above). Finally, place in the oven for around 40 minutes, eyeballing the top to see if the crust is turning golden brown. 

When nearing the end, whisk together the powdered sugar, whole milk and almond extract.

Remove the apple dish from the oven when ready and drizzle with the sugar glaze. Set aside and wait to cool before cutting the bars, or else they will fall apart immediately. The more patient you are, the better they will taste! ENJOY.

Monday, April 11, 2011

Roman Inspired Salad

It's simple. It's easy. It's a must for any college student who is complaining about the food they eat because they don't have their parents around.

I made this salad over and over again with a few adjustments each time and I think this is one of my favorites. The slightly toasted pine nuts with lemon and Parmesan cheese totally complement the fried egg.

I know many people are looking at this wondering why would someone choose to place an egg on top of their salad?! It's because I like to cook my eggs medium so that when you break into it, the runny yolk mixes with the lemon juice and olive oil to create this bomb ass dressing. I know it's odd but it works. It works really, really well. I lived off of this salad in Rome because I couldn't get enough of the prosciutto. It has a great amount of protein and will add in some greens for those of us who lack that in our diet while being a student.

Ingredients:

Arugula salad

Prosciutto

1 egg

Handful of pine nuts

Lemon

Parmesan cheese (can substitute Feta)

Olive oil

Directions:
Heat a skillet with 1 tablespoon of olive oil. On medium heat, toast the pine nuts until they start to turn a golden color. Once this happens place pieces of prosciutto in the pan with the nuts. Cook them enough so that they become a little cripsy. Once this happens, squeeze however much lemon juice you want. I'm a freak for citrus so I usually go a little crazy.

While you are doing this, heat a small skillet on medium high heat. Coat the pan with cooking spray so that the egg is easy to flip. Once the skillet is hot, crack the egg so that it doesn't run all over the place. Flip once until you are satisfied with how well done your egg is. Remove the egg and place on top of the arugula. Pour the toasted pine nuts and proscuitto over everything, and drizzle the remaining juices from the pan. If there isn't enough, add more lemon and olive oil.

Then, shave a few pieces of parmesan chesse to top it off! This recipe is great because you can add whatever else you love in your salads. Sometimes I add cherry tomatoes :)

Monday, April 4, 2011

Buraniya (Lamb and Eggplant Stew)


Ever since my family and I returned from our travels around the world, the cuisines we were able to taste have been making their way into our very own kitchen. We have been applying all the wonderful cooking skills we learned from our numerous cooking classes in places such as Bali and Turkey. 


This recipe, called Buraniya, is simply to die for. It has the same consistency to stews that we make here in the States, but is filled with spices and ingredients that are seen in both Morocco and Turkey. I have yet to visit Morocco but I can confidently say, Turkey was one of the most impressive places I have been to.


This recipe has been tested about three different times by my mom and I, and each time it becomes better and better. The preparation is somewhat long, but don’t let that discourage you! It’s definitely a crowd pleaser. This was the first time we decided to grill the eggplants and bell peppers instead of frying them before putting them in the stew in order to create a more traditional Turkish meal. You can serve this hot, flavorful dish with any side including rice, egg noodles and or bread. We’ve never managed to eat it without bread because it acts as your utensil for scooping up the sloppy mess stew, perfectly soaking up the cinnamon and allspice flavors. 


Here the onions cook down into a golden, yellow color. We add the lamb once their change in color occurs so that the flavors will infuse. You want the pot to be really hot so that a wonderful crust forms on the outside of the meat, sealing in all the delicious natural flavors.


Once the meat has been cooking for a little while, you cover it with water to deglaze the pan. When this is done you bring to a boil and quickly reduce to a simmer, cooking for 1 1/2 hours. This process cooks the meat slowly so you end up with tender pieces that have been cooking in the surrounding flavors.


Yea, I know it looks like a lot of ingredients, but trust me, most of this stuff is probably lying around your kitchen anyways! Also, don’t make the mistake of changing the type of meat because the shoulder of lamb works the best. One time I made it with a different type because it was all the local grocery store had to offer. It just wasn't the same. So PLEASE, the shoulder of lamb is a must! Don’t cop out and by what’s most convenient!


If you’re feeling like you want more of a Moroccan dish, change the spices listed to 1 teaspoon ground ginger, 1 teaspoon cinnamon and ¼ teaspoon powdered saffron.

This dish is delicious for the next day...and the day after that! Especially on a really rainy day like the one I experienced over break.

 Buraniya Recipe: adapted from New Book of Middle Eastern Food

 Ingredients:

3 onions, chopped

Vegetable Oil

5 cloves of garlic, chopped

2 1/4 pound of lamb shoulder, cut into cubes

5 tomatoes, skinned and quartered

Salt and pepper

Juice of 1 lemon

1 1/2 teaspoon of cinnamon

3/4 teaspoon of allspice

4-5 medium eggplants

4-5 red bell peppers, roasted

5 tablespoons chopped flat-leaf parsley


Directions:

Fry the onions in about 2 tablespoons of oil until soft and golden. Add the garlic, then add the meat and brown it well so that a crust forms. Add the tomatoes and seasonings: salt, pepper, lemon juice, cinnamon, and allspice. Cover with water, stir well, and bring to a boil. Simmer gently, covered, for about 1 1/2 hours, until the meat is very tender, adding water to keep it covered.

Cut the eggplants and red bell peppers into 1/2 inch thick slices and brush generously with oil. (You do not need to peel the eggplants because the skin will soften eventually). Cook them under the broiler or in a grill pan, turning them over once until lightly colored. Cut them in half and add to the stew. Simmer, covered, for 1/2 hour, adding parsley towards the end.